Manual: Platform administration (super admin)
A step-by-step training manual for platform super admins - creating namespaces (tenants), enabling verticals and modules, adding users, switching workspaces, and custom domains.
This manual is for platform super admins - the small handful of people who manage the platform itself, not any one tenant. A super admin can create a brand-new tenant workspace ("namespace"), turn on the verticals/modules it needs, add its first users, and jump between every workspace on the platform without being a member of any of them.
If you're looking for day-to-day tenant configuration instead (products, staff, tax settings), see Manual: Retail admin & back office or Manual: Food production - those are written for a tenant's own OWNER/ADMIN, not the platform super admin.
Everything on this page requires the super admin platform flag. A regular tenant OWNER/ADMIN, however senior, does not see any of these screens - Admin → Platform only appears in the sidebar for a real super admin.
Namespaces: every tenant on the platform
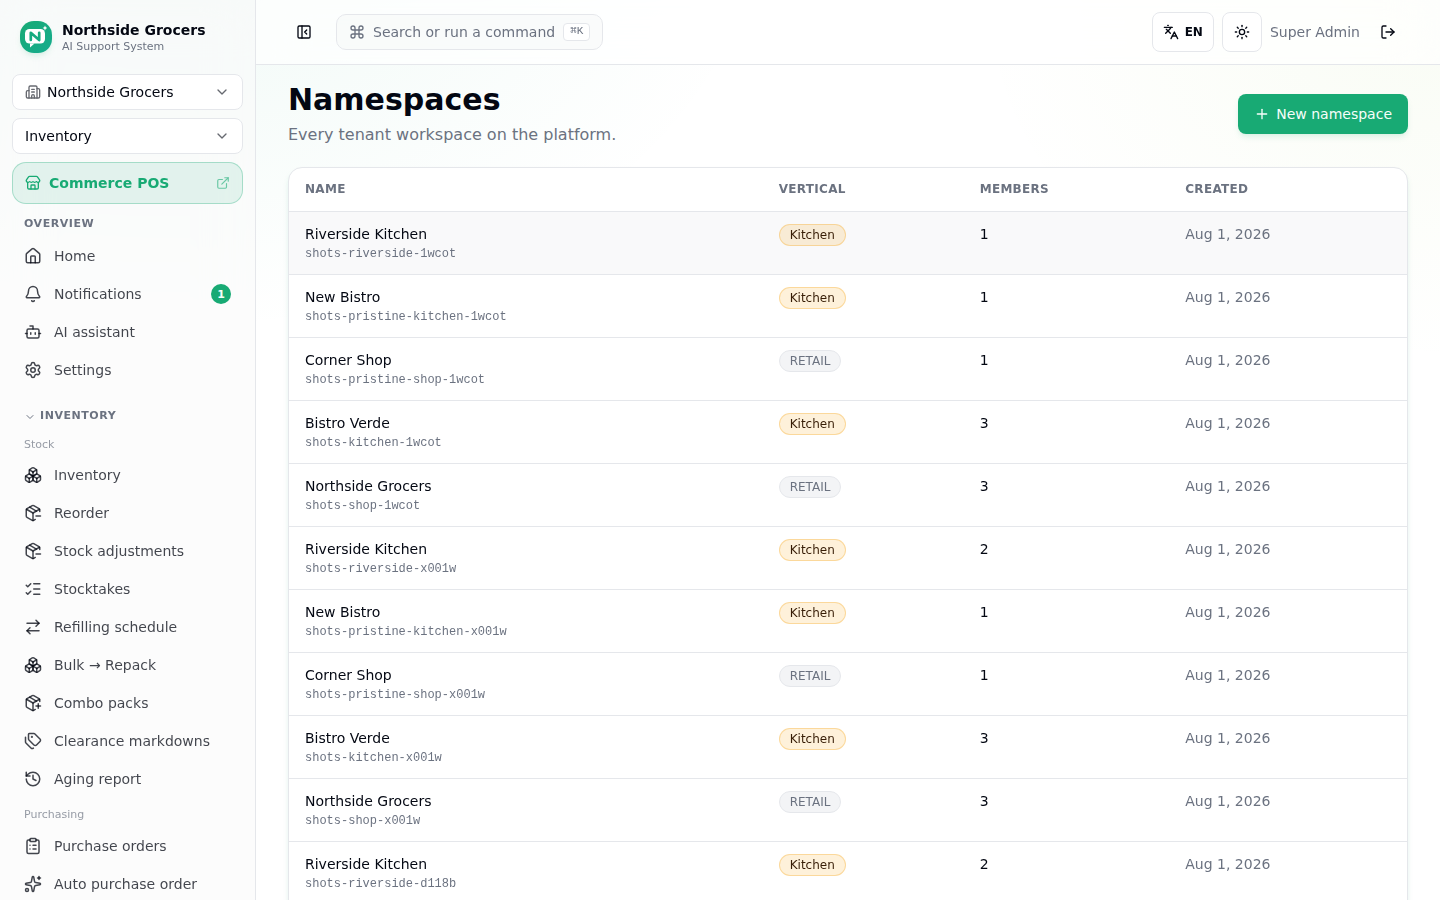
Admin → Namespaces lists every tenant workspace on the platform - name, slug, vertical, member count, and creation date. Click any row to manage that workspace.
Creating a new namespace
Click New namespace.
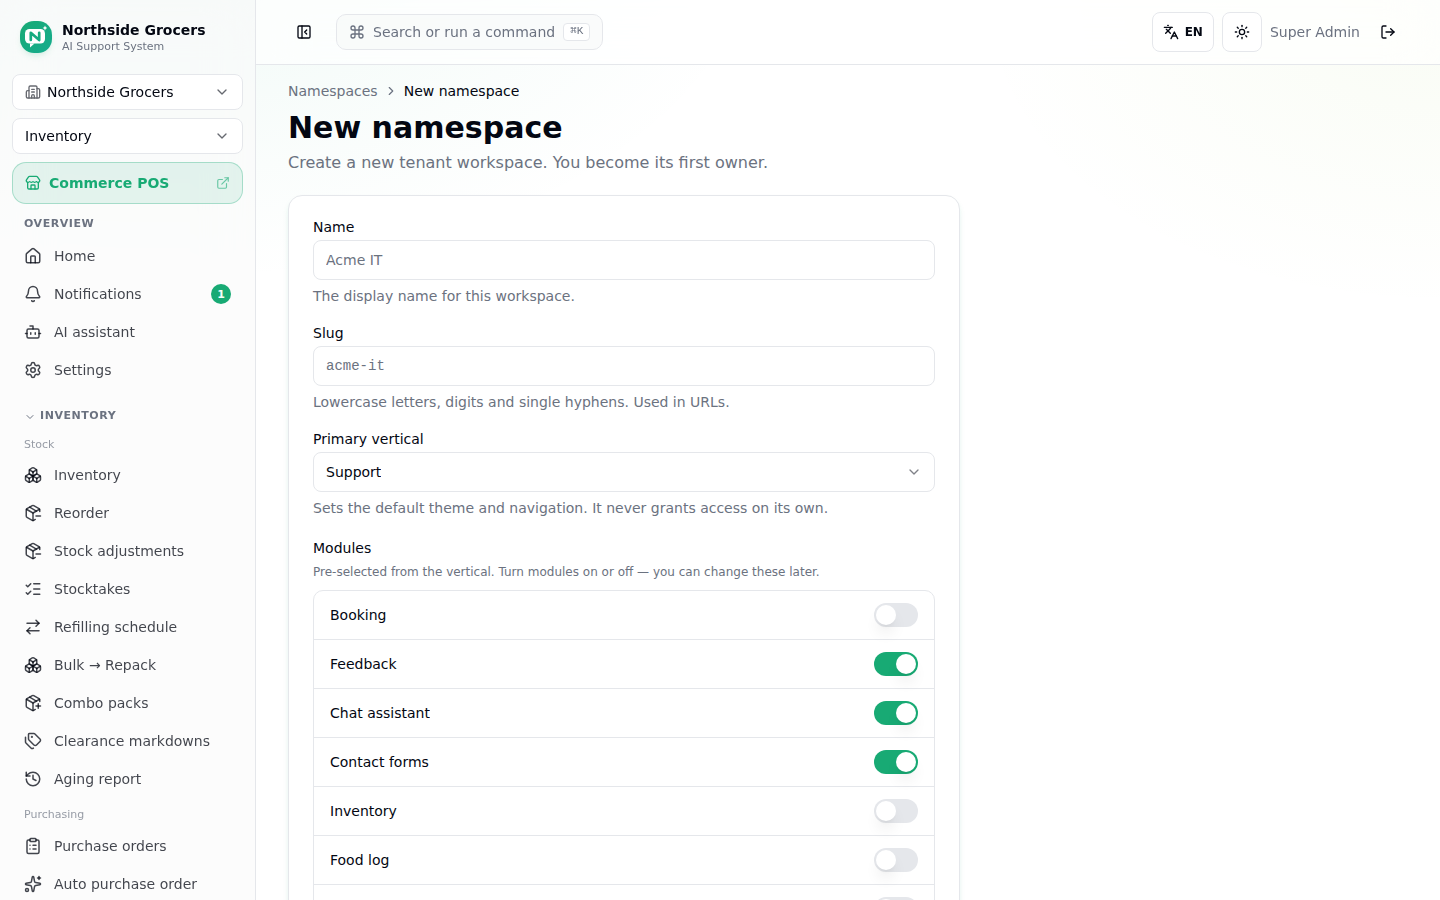
Fill in:
- Name - the display name shown throughout the app.
- Slug - lowercase, hyphenated, used in URLs; must be unique across the whole platform (a duplicate is rejected with "That slug is already in use.").
- Primary vertical - Support, Kitchen, Floor, or Retail. This sets the default theme, landing page and navigation for everyone in the workspace - it never grants access on its own, and can be changed later. See Navigation & settings for what each one changes.
- Modules - a first pass at which platform entitlements this tenant gets. Picking a vertical pre-selects a sensible starting set (e.g. Kitchen pre-selects Inventory, Food log, and Contact forms; Retail pre-selects Inventory, Retail POS and Contact forms) which you can freely turn on or off before creating.
Pick Retail for a shop. Before it existed, shops were created as Support workspaces and their staff landed in a helpdesk shell with the stock pages several sections down. Retail opens on the inventory home and leads the sidebar with Stock, Purchasing and Locations.
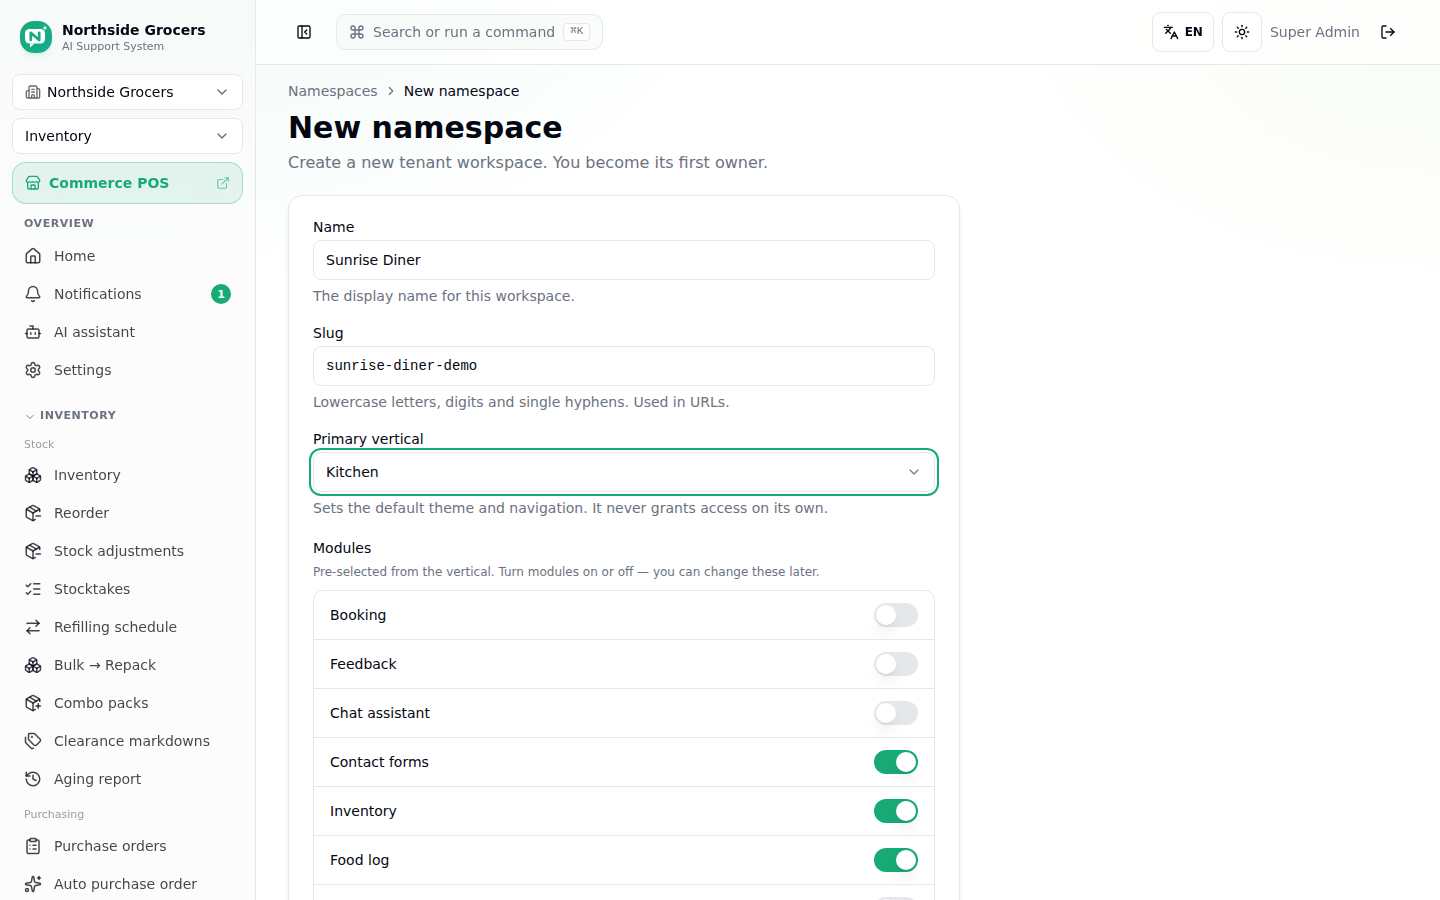
Only 7 of the platform's modules are offered at creation time (Booking, Feedback, Chat assistant, Contact forms, Inventory, Food log, Workforce). The remaining ones - Retail POS, Online channel sync, Multi-location, Multi-company - only appear once the namespace exists, on its own Modules card below. That's expected, not a bug: those four are heavier, opt-in-later entitlements.
Click Create namespace. You become the workspace's first owner - this is worth remembering, since it means a super admin creating a namespace always has a real membership row in it (unlike everything else a super admin does, which works without one).
Managing an existing namespace
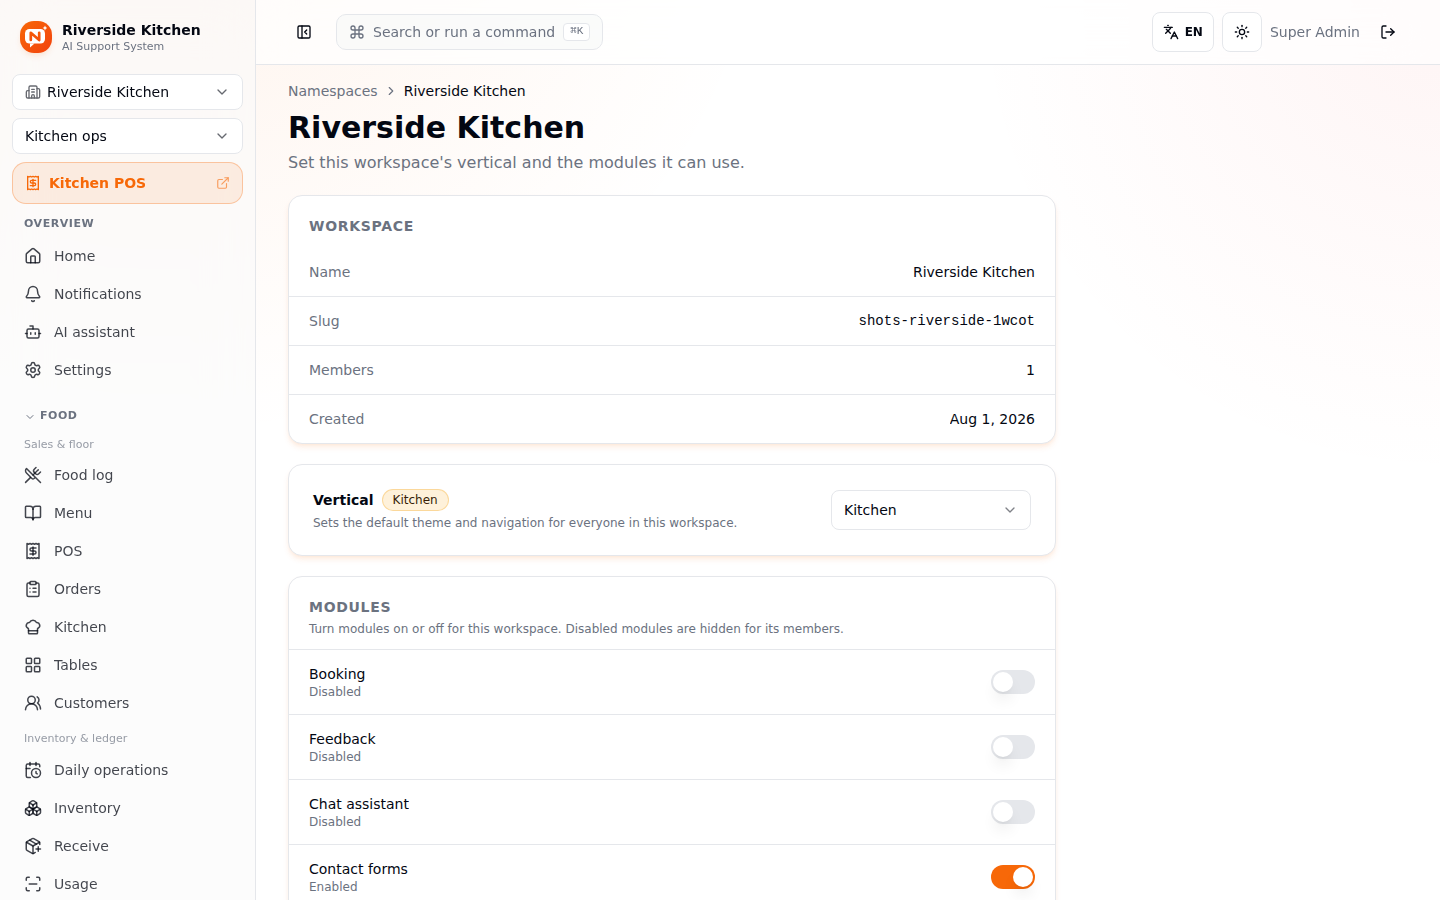
Click into any namespace from the list to reach the same management page. Three cards:
- Workspace - name, slug, member count, creation date (read-only).
- Vertical - change the default theme/navigation at any time via the select.
- Modules - the full set of platform entitlements (all 11), each its own toggle. Turning one off hides it for every member of that workspace; turning it on makes it usable immediately.
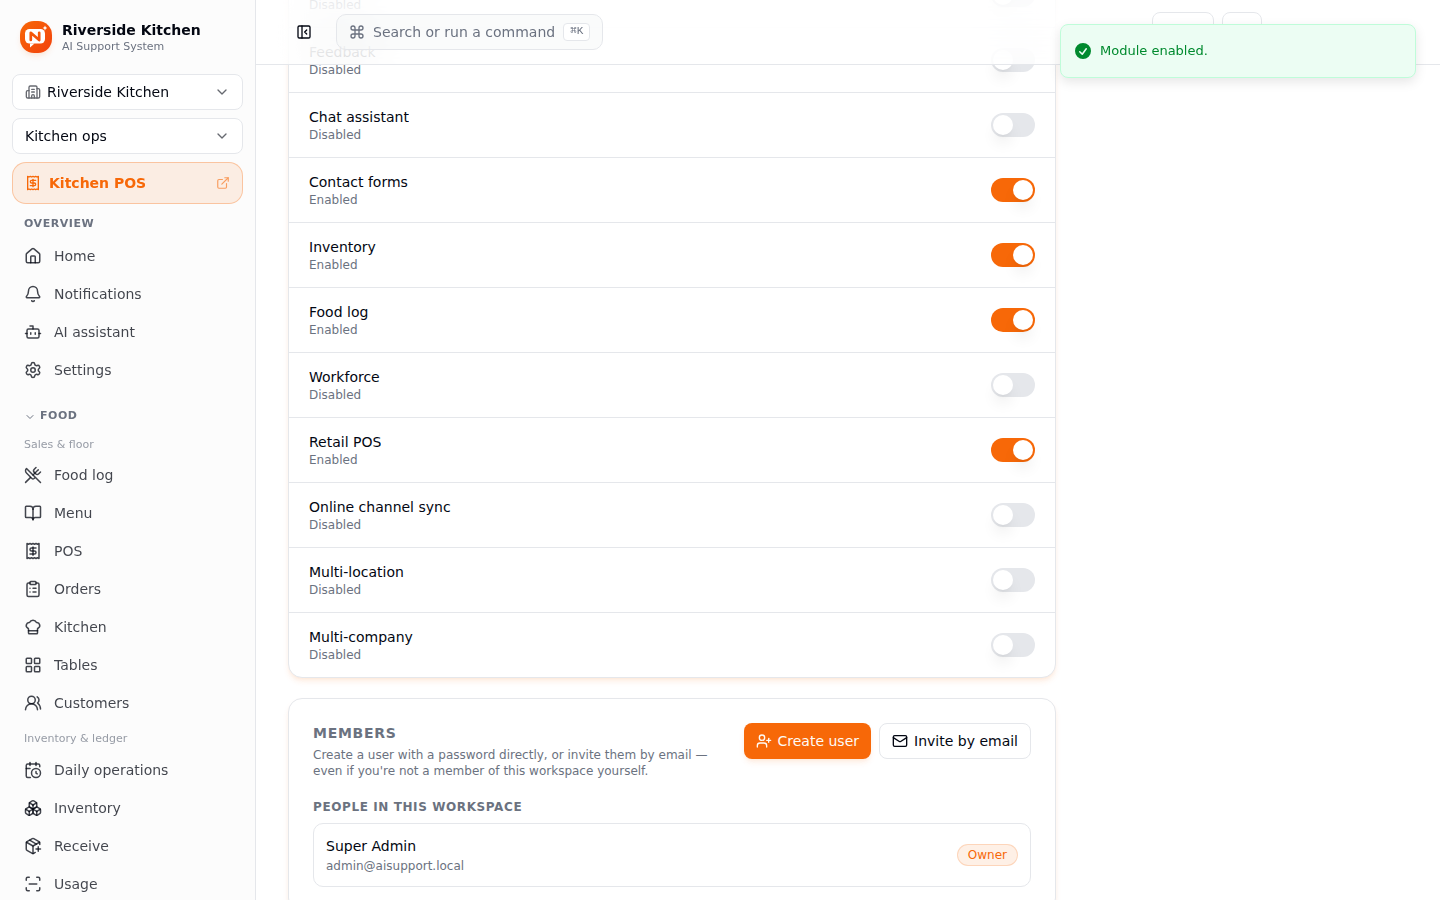
Disabling a module doesn't delete anything underneath it - it just hides that section of the app for the tenant's own members. Re-enabling brings it straight back with all its data intact.
Adding users to a workspace
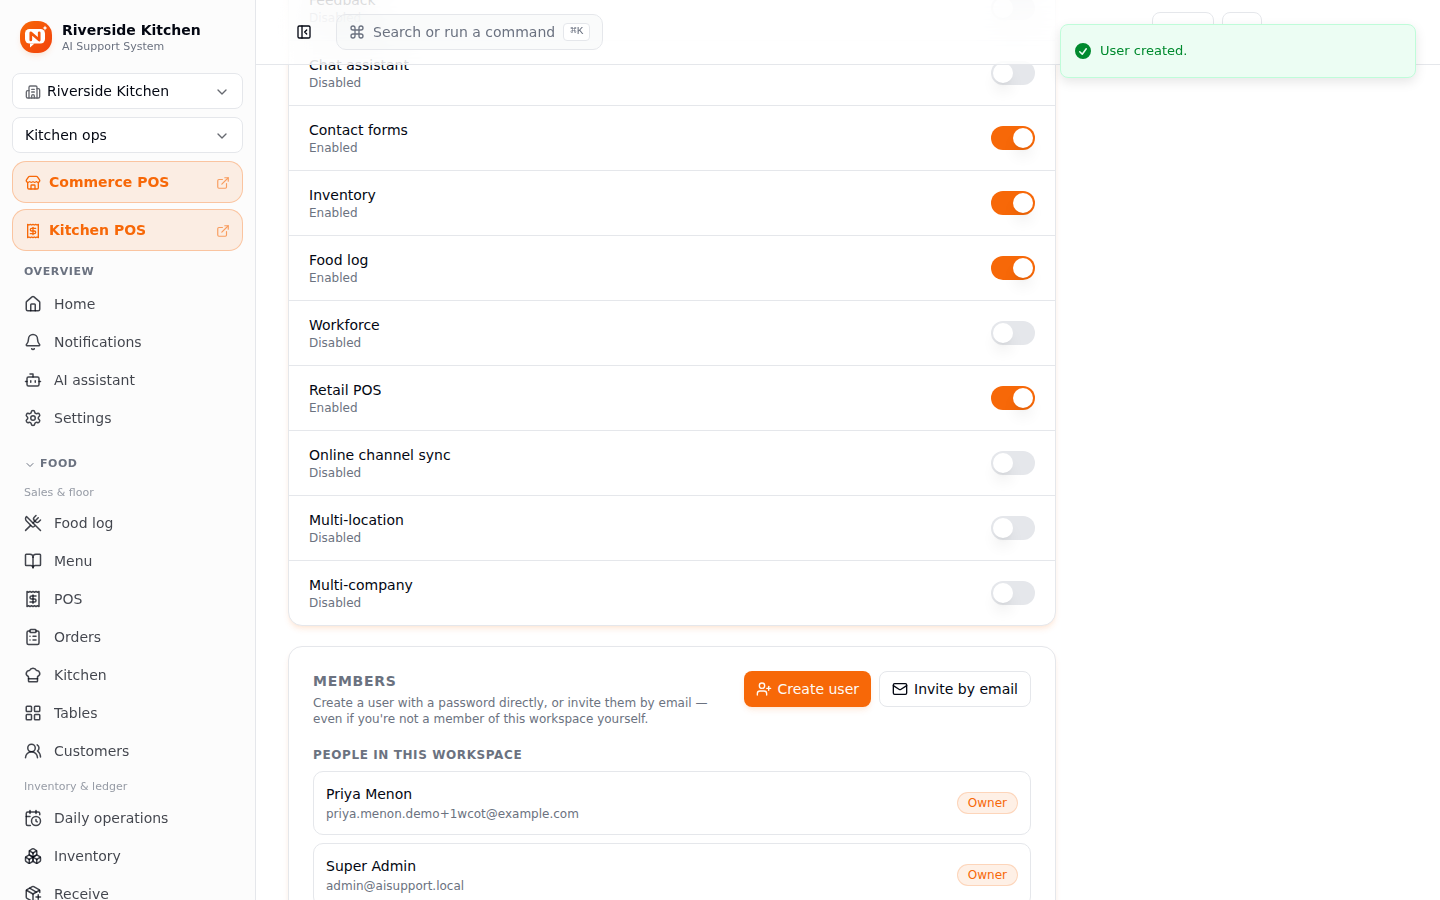
Scroll down to Members - this is the one place a super admin can add people to a workspace without being a member of it themselves.
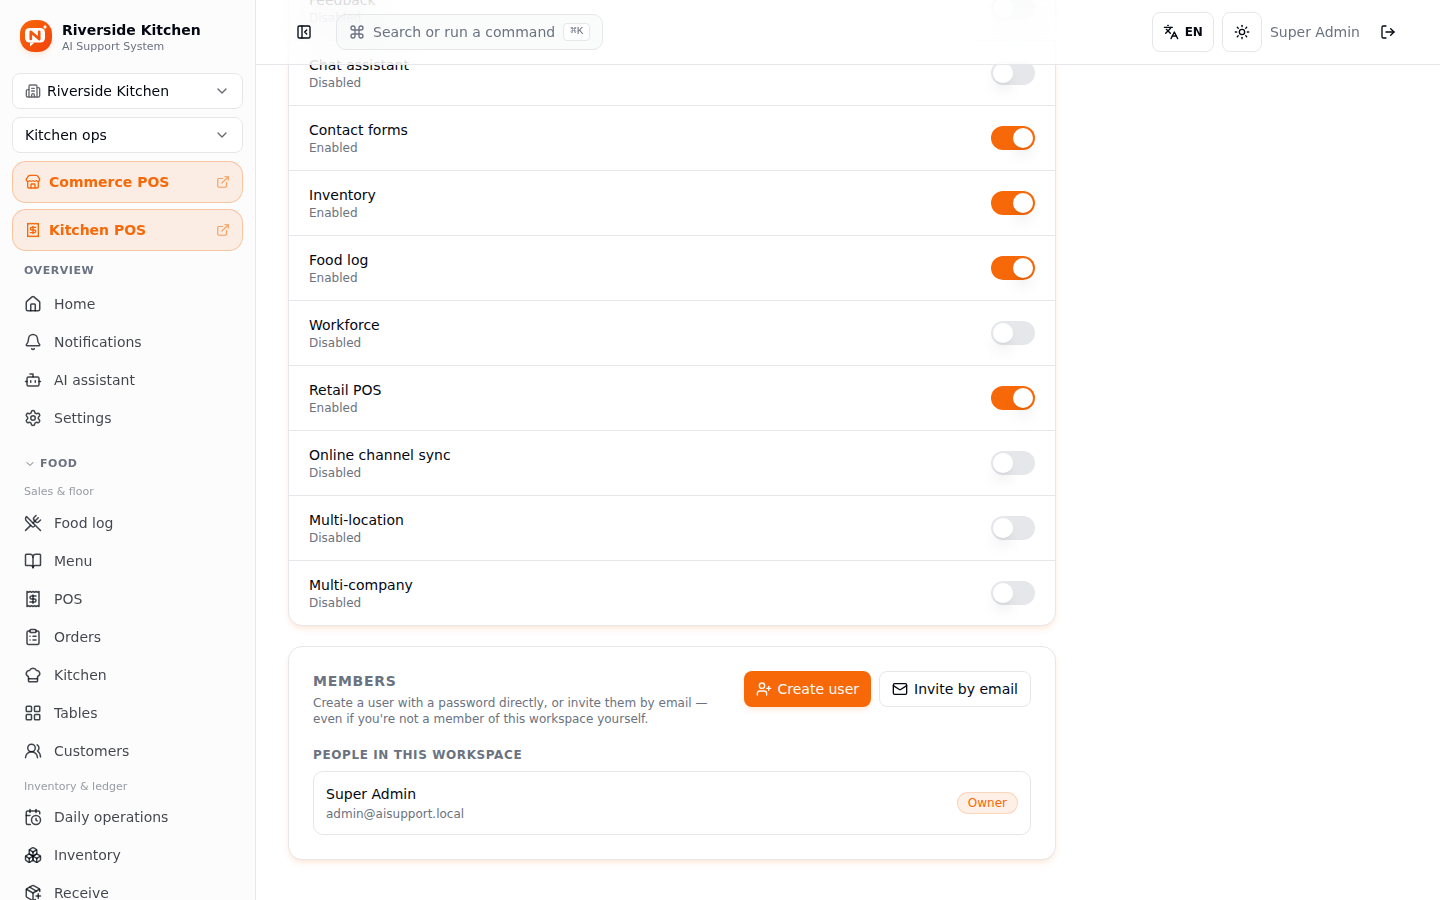
There are two ways to add someone:
Create user (direct, with a real password)
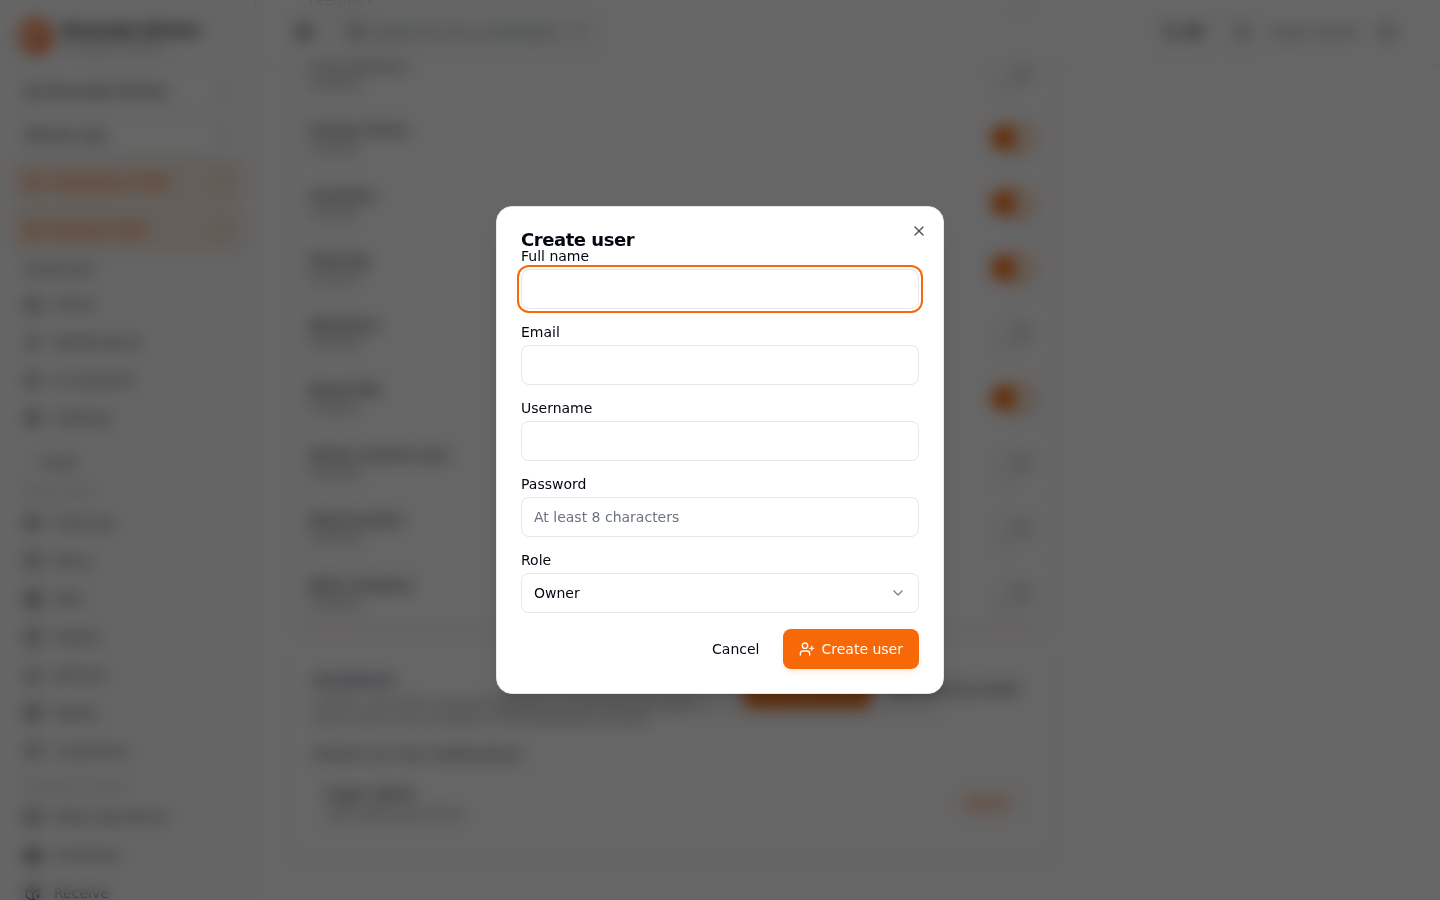
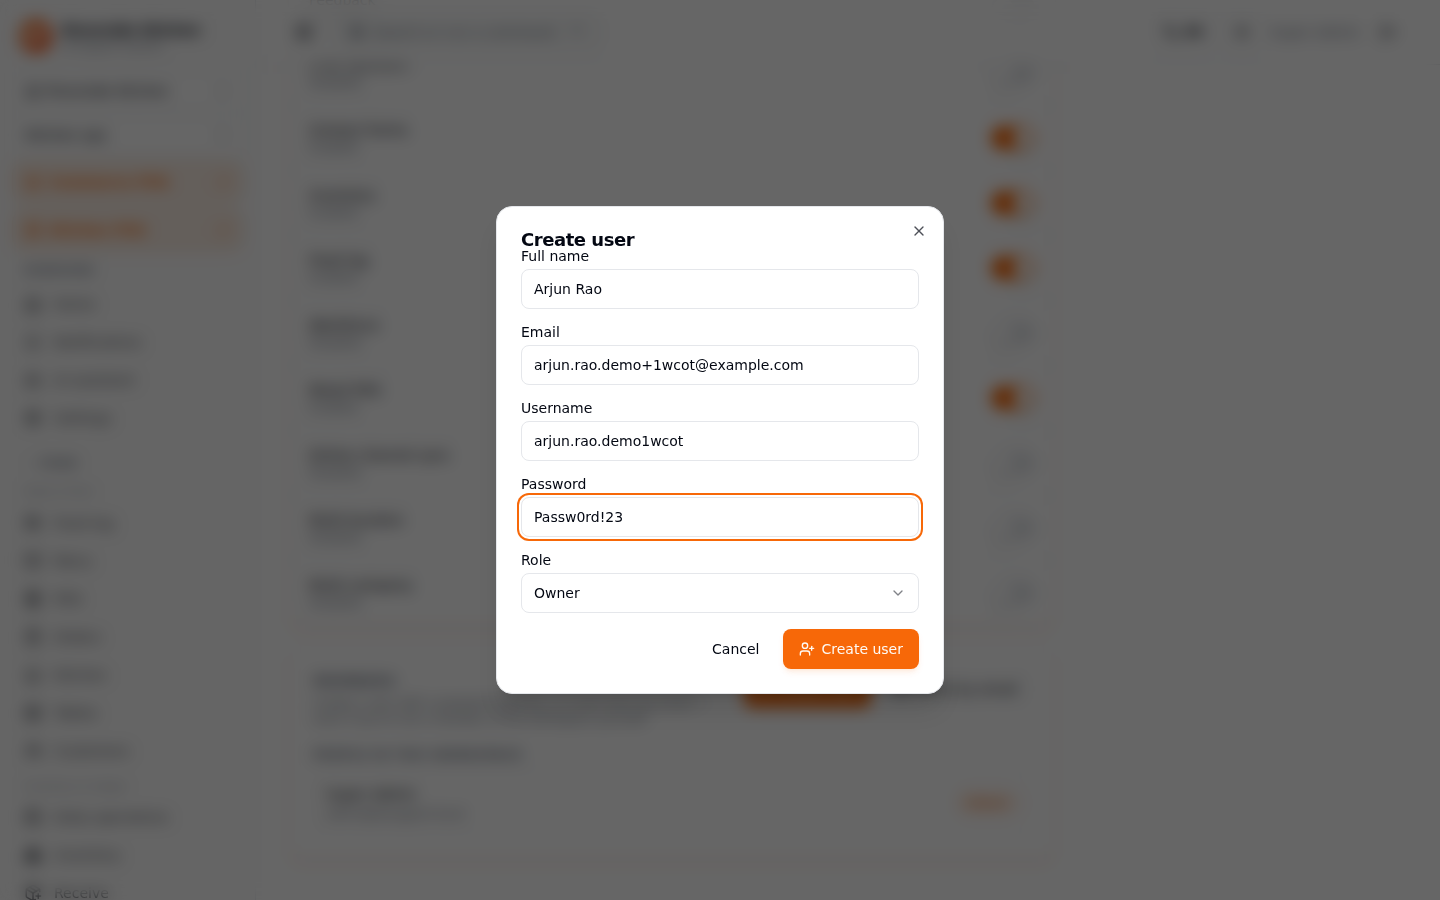
Fill in Full name, Email, Username (auto-suggested from the email, editable), a Password (at least 8 characters), and pick a Role. The account is active immediately - no invite step, no email sent.
Invite by email
Click Invite by email instead if you'd rather the person set their own password.
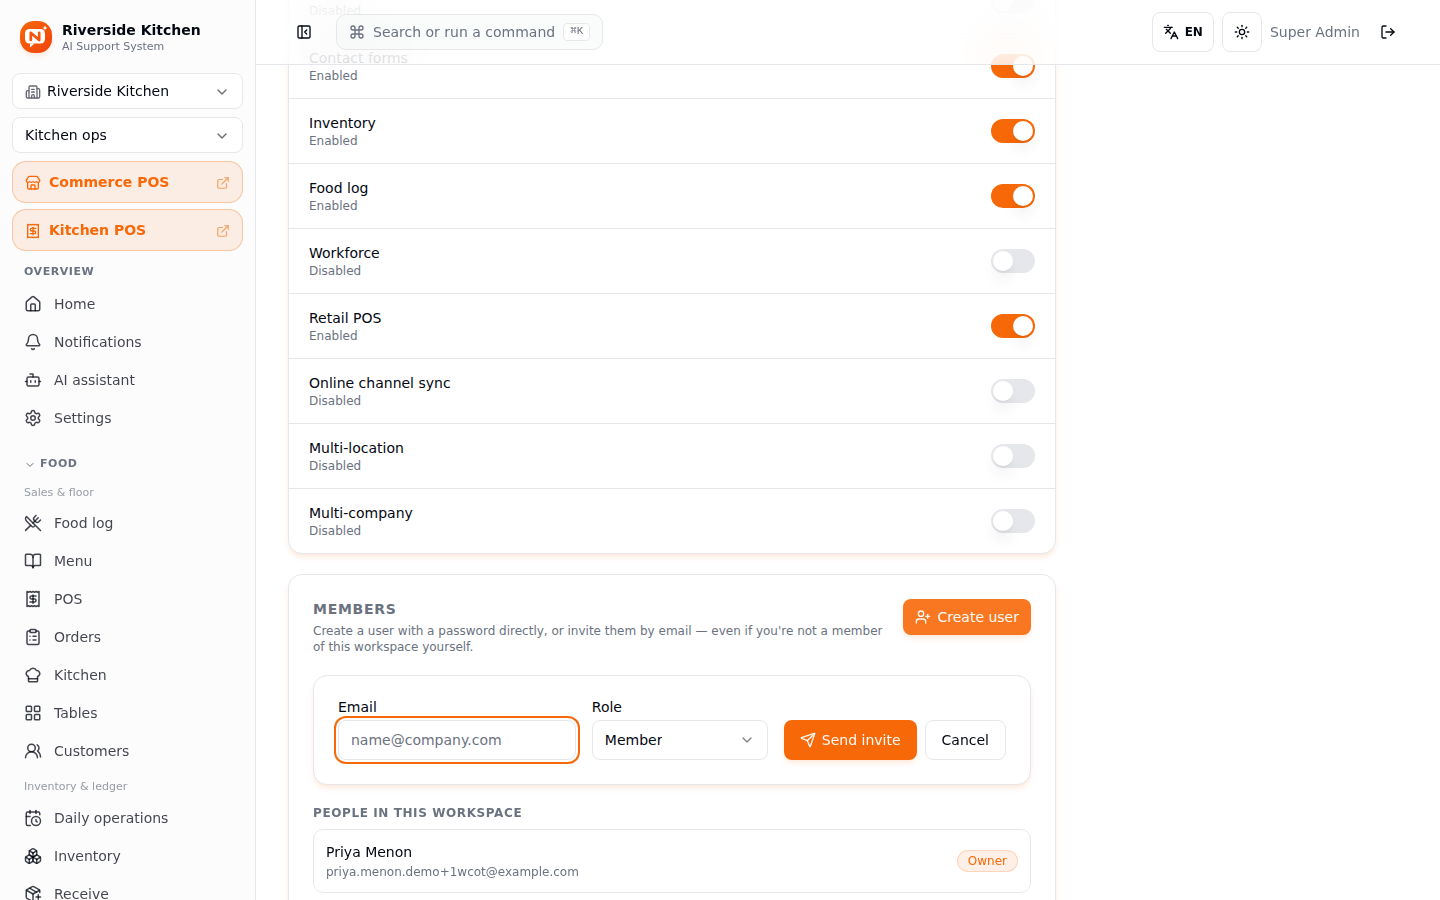
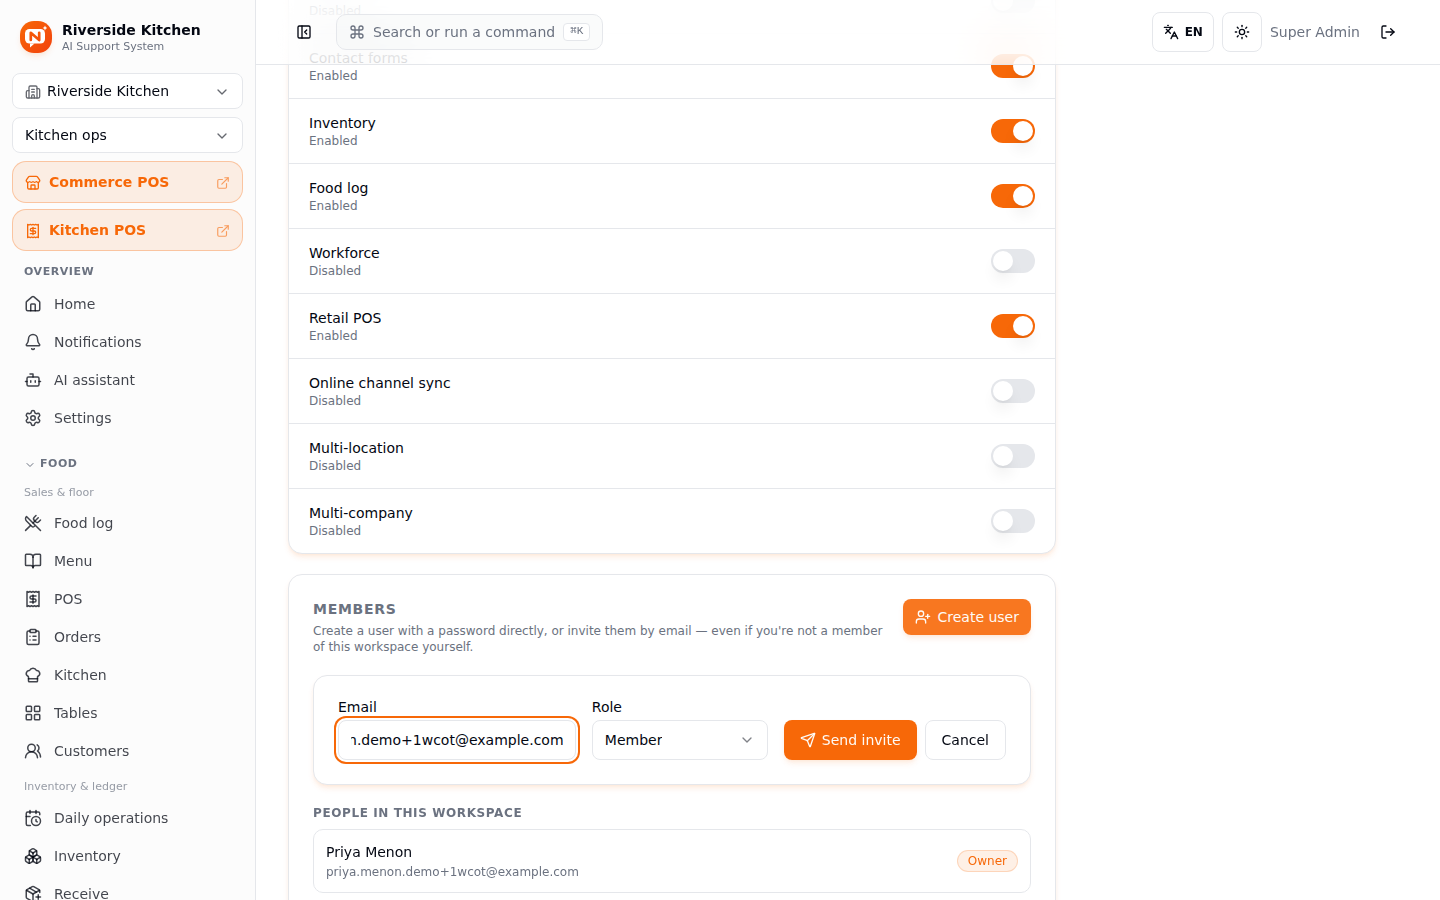
Enter their Email and pick a Role, then Send invite.
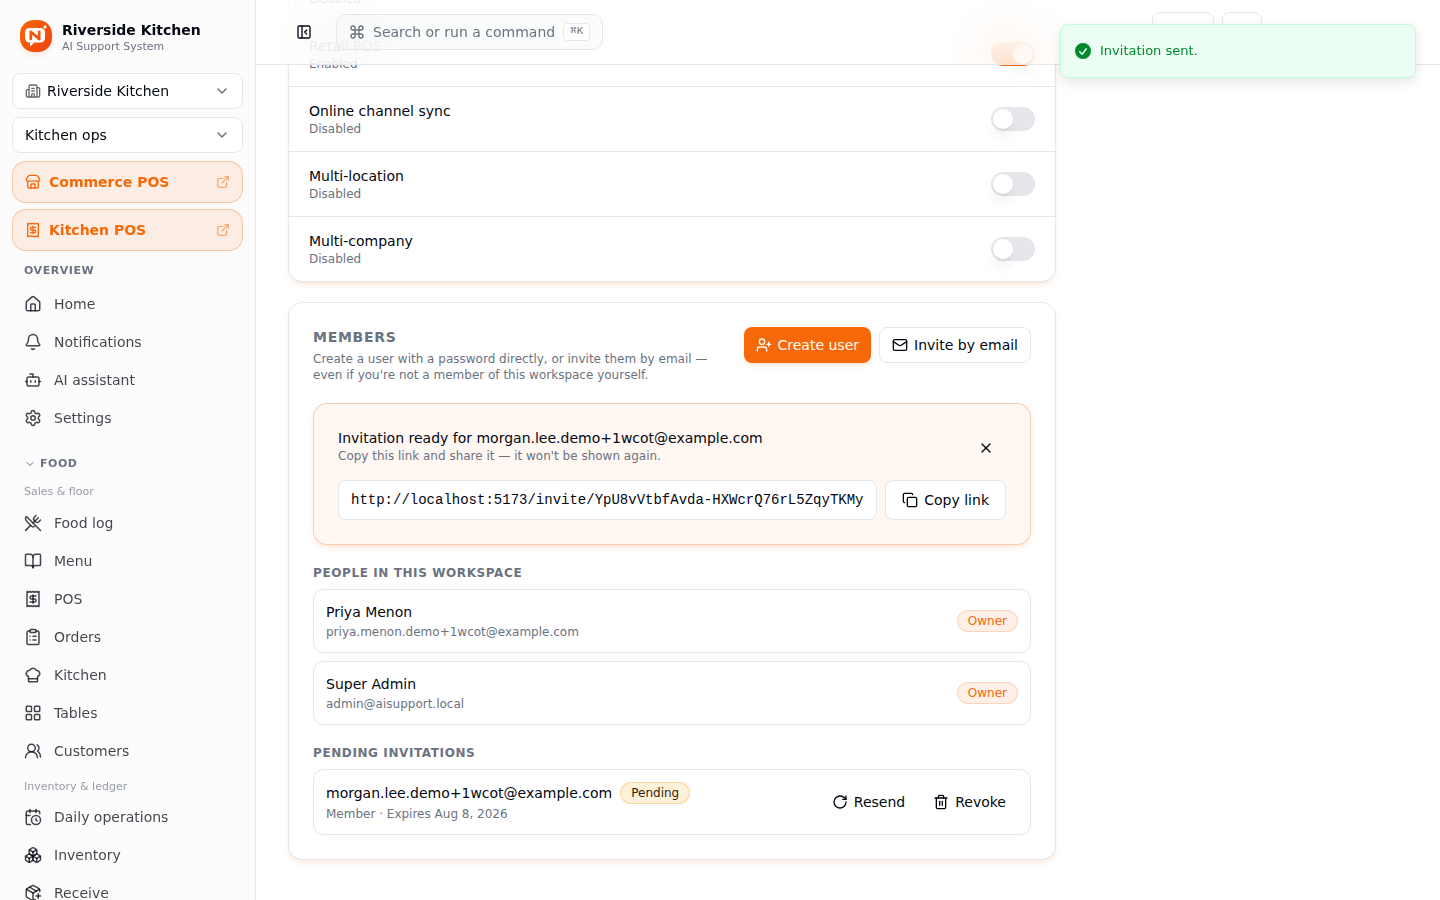
The invite link is shown exactly once, right here - copy it now.
There is no way to retrieve this exact link again later. If it's lost, don't try to recover it - just Resend from Pending invitations below, which mints a fresh link and invalidates the old one.
Once sent, the invite drops into Pending invitations - each row shows the email, its role, and an expiry date (7 days out), with Resend and Revoke actions.
Switching between namespaces
As a super admin, click your workspace name at the top of the sidebar to jump to any other tenant on the platform - no re-login, no separate account needed.
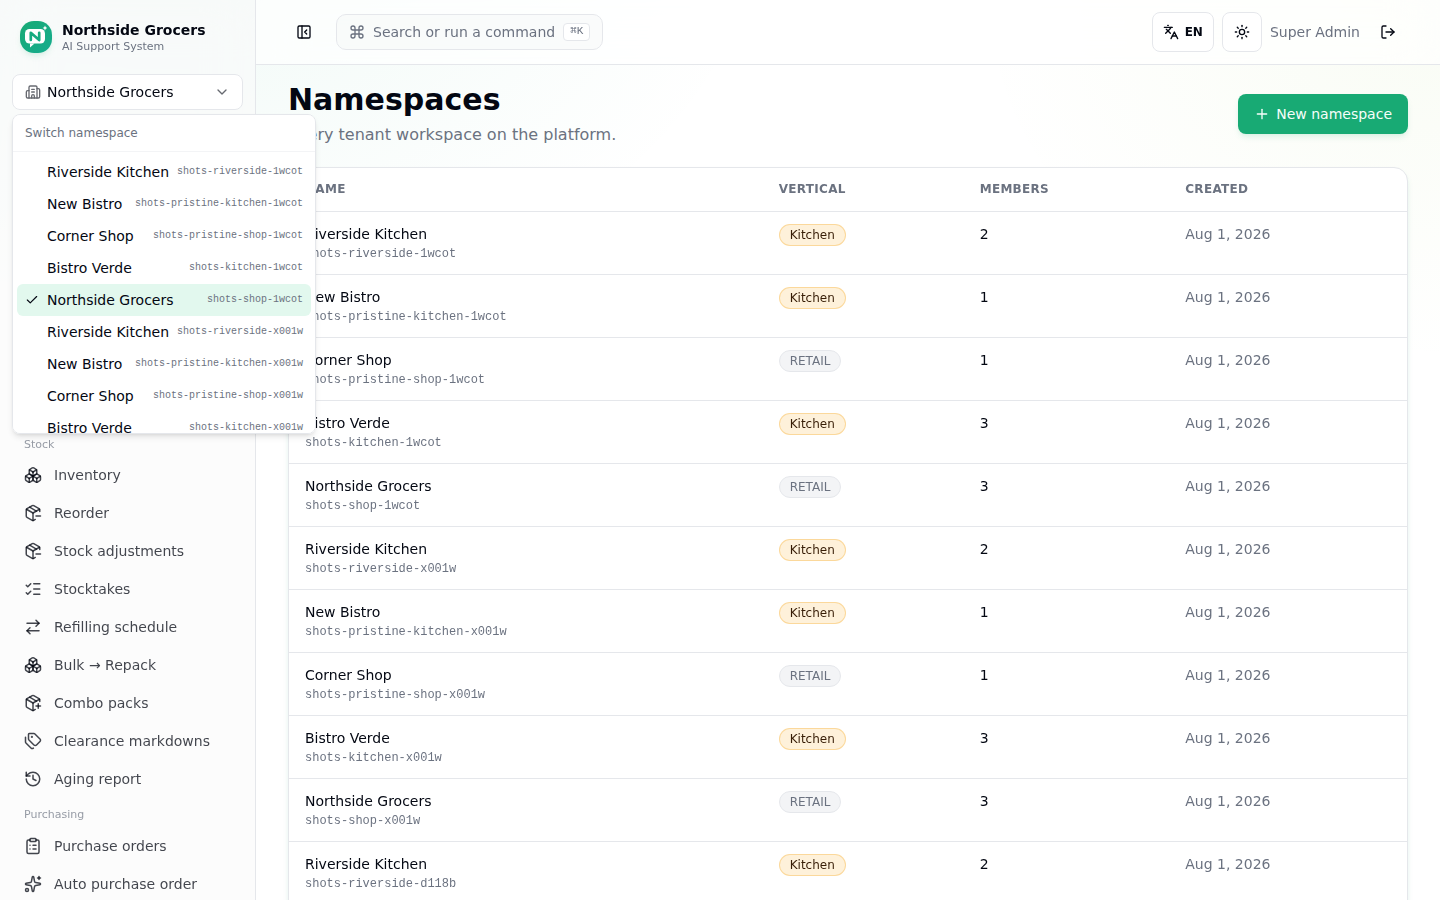
Pick a namespace – Switching clears your session's cached data and reloads it fresh for the new tenant - a real context switch, not just a filter.
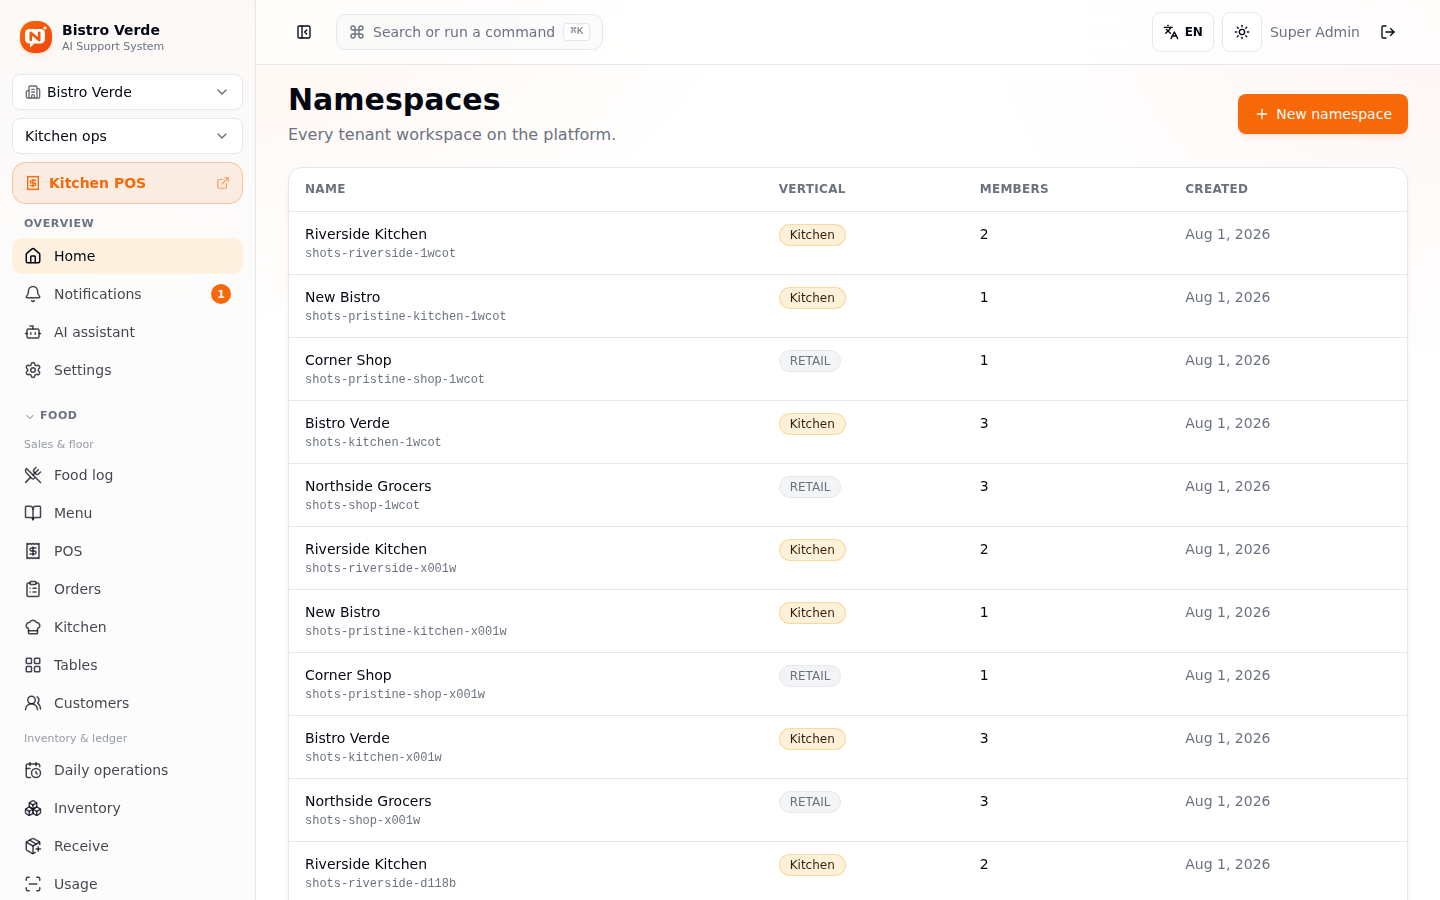
Notice the whole sidebar changes - the workspace name, the vertical (Kitchen here), and every nav item now reflect that tenant's own setup, not the one you came from.
This is a genuinely different thing from the workspace switcher right below it, which switches between verticals within one tenant (e.g. a hybrid retail+food tenant). The namespace switcher changes which tenant you're even looking at.
Custom domains
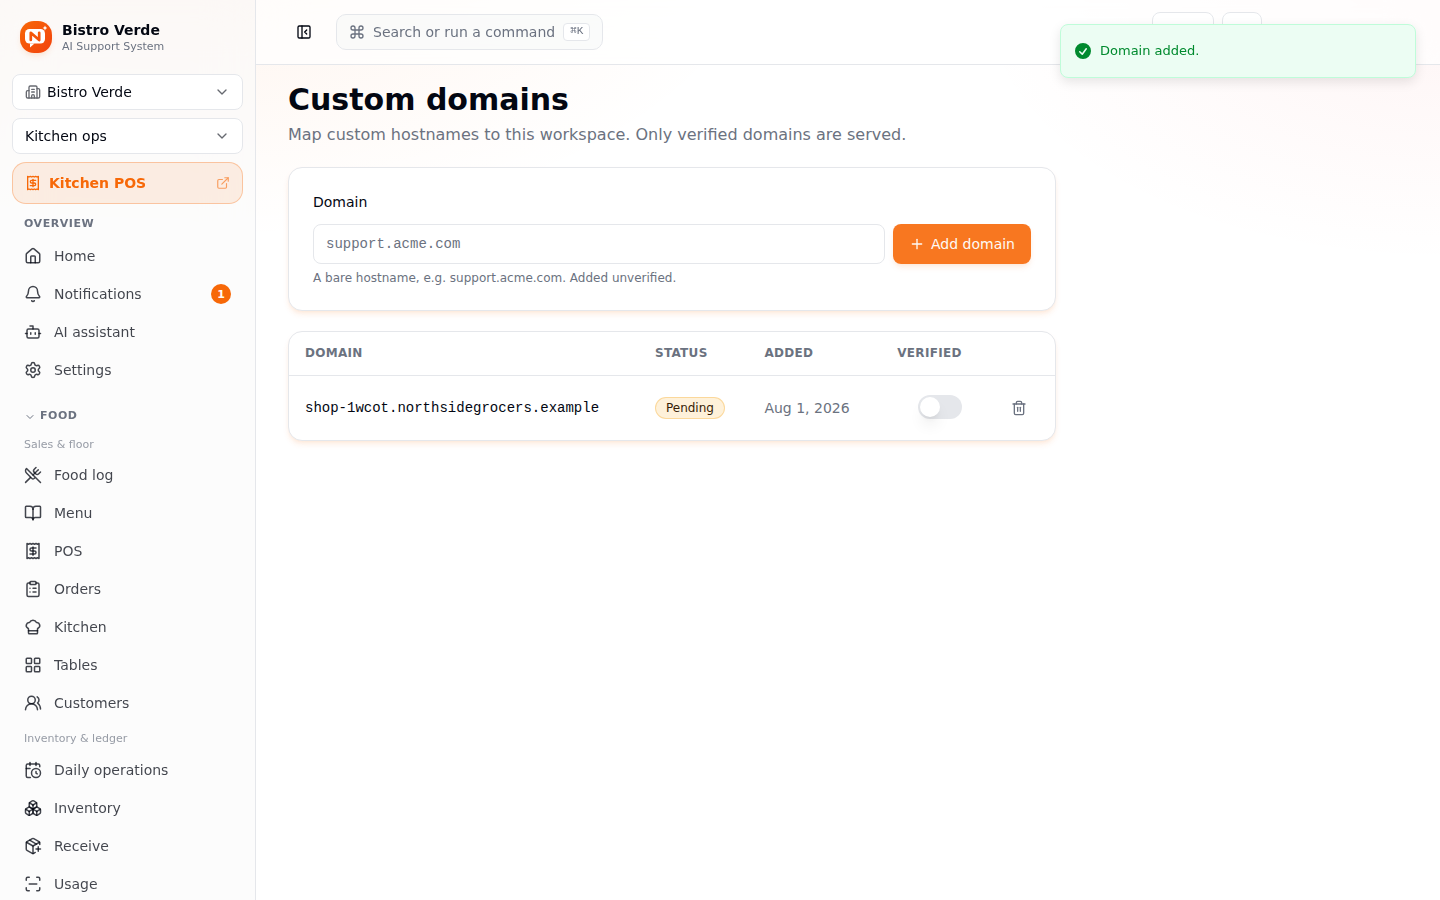
Admin → Custom domains maps a real hostname (e.g.
support.acme.com) onto whichever tenant is currently active - switch to
the right tenant with the namespace switcher first, then manage its own
domains here.
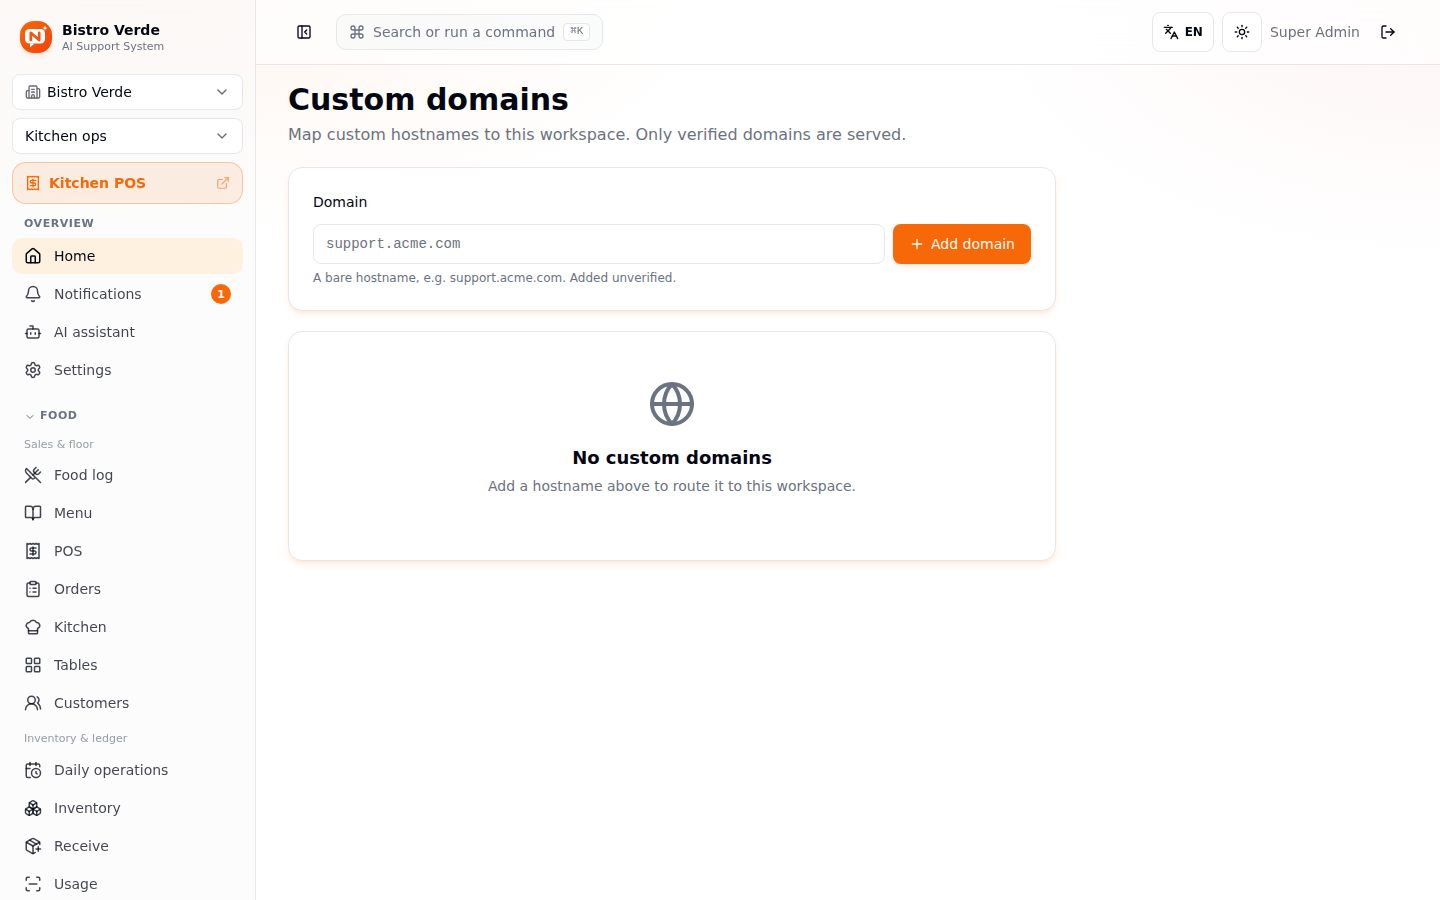
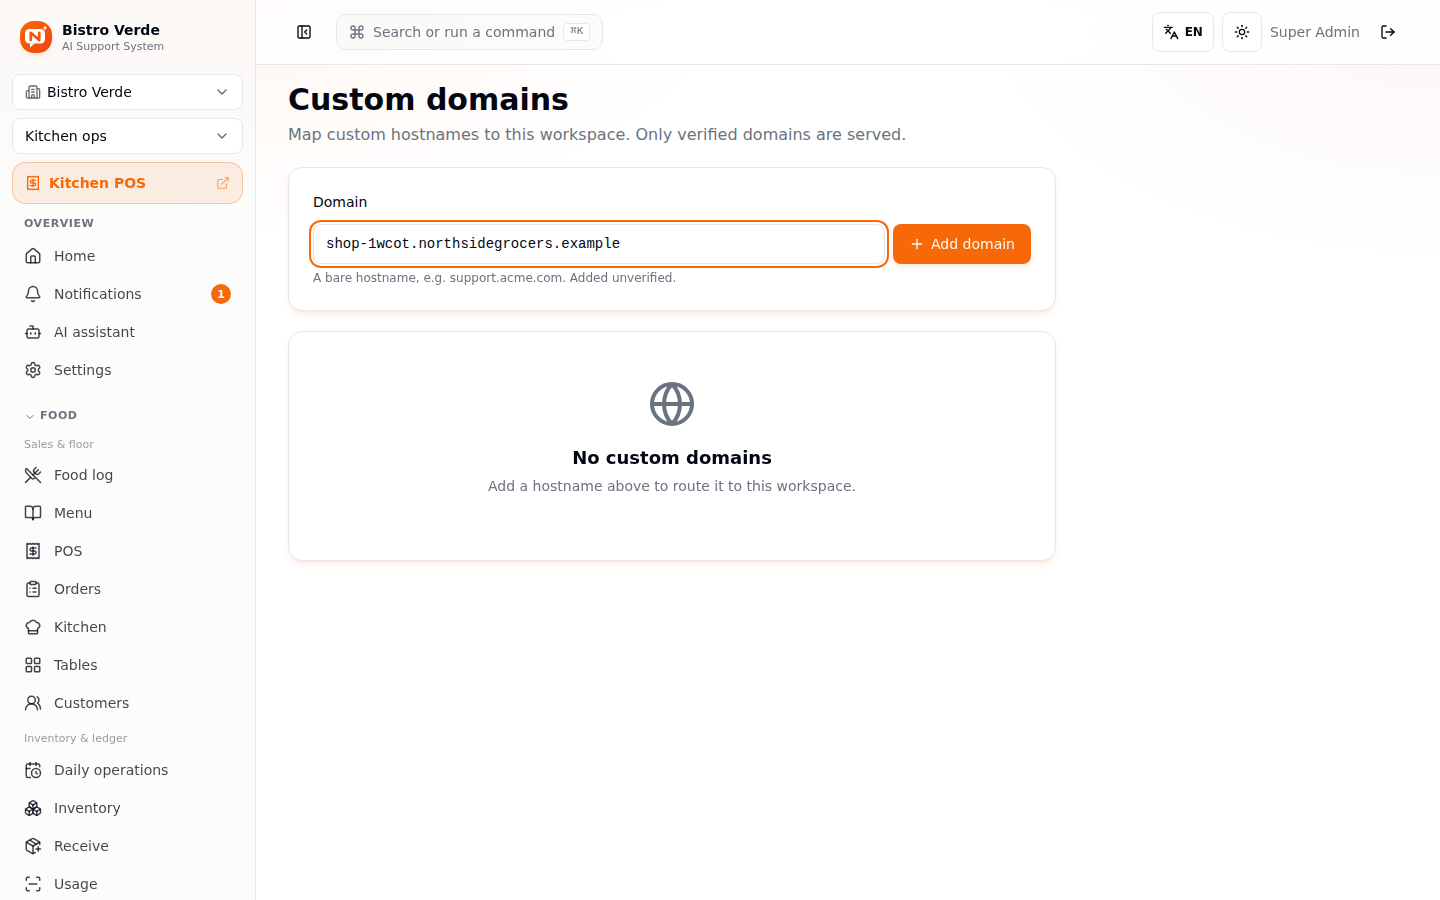
Add domain – A bare hostname, no protocol - added as Pending/unverified. DNS + verification happens outside the app; only verified domains actually get served.
Who can do what
| Action | Tenant Owner/Admin | Super Admin |
|---|---|---|
| View/create/manage namespaces | ✗ | ✓ |
| Change a tenant's vertical or modules | ✗ | ✓ |
| Add a user to a tenant they're not a member of | ✗ | ✓ |
| Add/invite a user to their own tenant | ✓ | ✓ |
| Switch between tenants without re-login | ✗ | ✓ |
| Manage custom domains | ✗ | ✓ |
See also: Manual: Retail admin & back office · Manual: Retail till & billing · Manual: Food production
Manual: AI Dining Co-Pilot
The table-QR guest experience - a branded digital menu with an AI concierge that curates group meals on a budget, answers dish questions in any language (typed or spoken), runs one shared cart per table, and pings the right server with one tap.
Administration
Manage users, invitations, categories, agent coverage, workflows, SLA policies, the AI profile and auto-triage, the chat widget, knowledge gaps, and broadcast push. For Admins and Owners.